Hassles when going through airport security can add unnecessary stress to the start of any trip.
We’ve been pulled aside for extra screening and bag checks more times than I can count. Not to mention, the number of times we’ve quickly thrown watches and wallets into a bag only to panic thinking we left or lost them at the security checkpoint.

This was me on our way to Thailand. After being up for a gazillion hours, we were quickly rushed through security on an international airport layover. To minimize individual items in our bin, I told my husband Eric to just throw his wallet in my bag.
When we got on the plane, it was nowhere to be found. Panic struck, insert expletives (aka swear words). While waiting for our taxi in Thailand, I again looked for the wallet but could not find it. Yes, my heart was racing as I anticipated sharing the news of the missing wallet. Upon arrival at our hotel, I removed EVERYTHING, and I mean EVERYTHING from my bag. And, hallelujah!!! There it was at the very bottom tucked between two items!

To this day, I remember the internal panic thinking I had lost Eric’s wallet. Whew! Lesson learned…rushing and not planning never helps when traveling. Oh, and I no longer make suggestions about what Eric should do with his own belongings.
Here are a few simple tips to get through airport security quickly and as efficiently as possible without any lost item mishaps.
1. Plan ahead
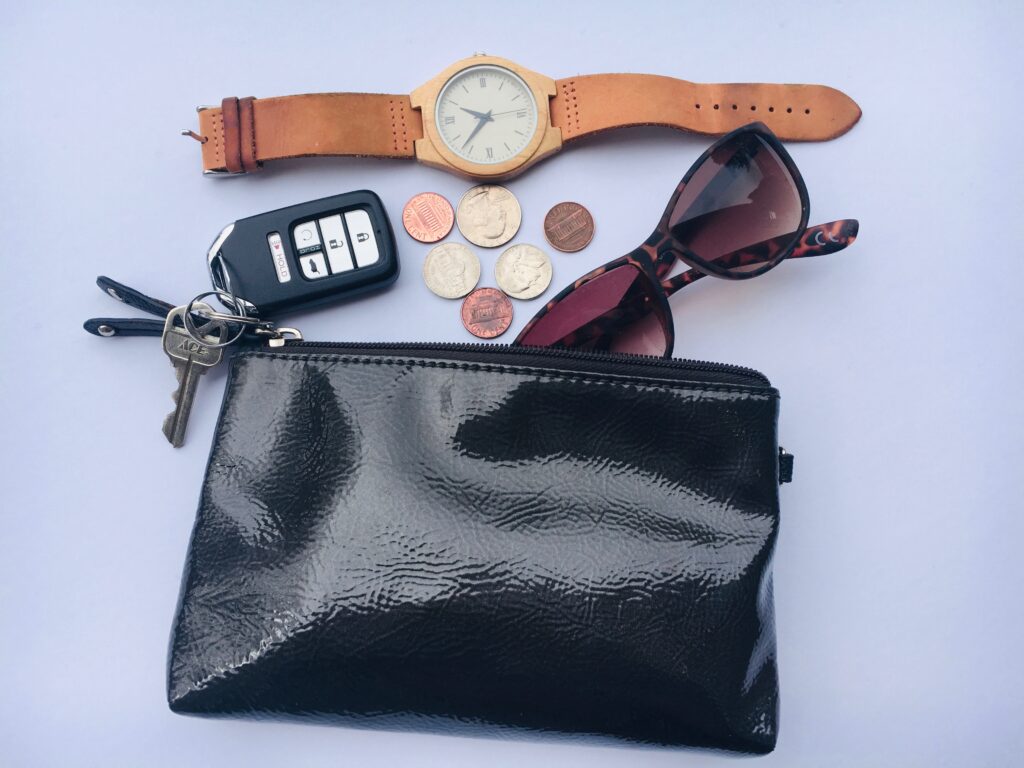
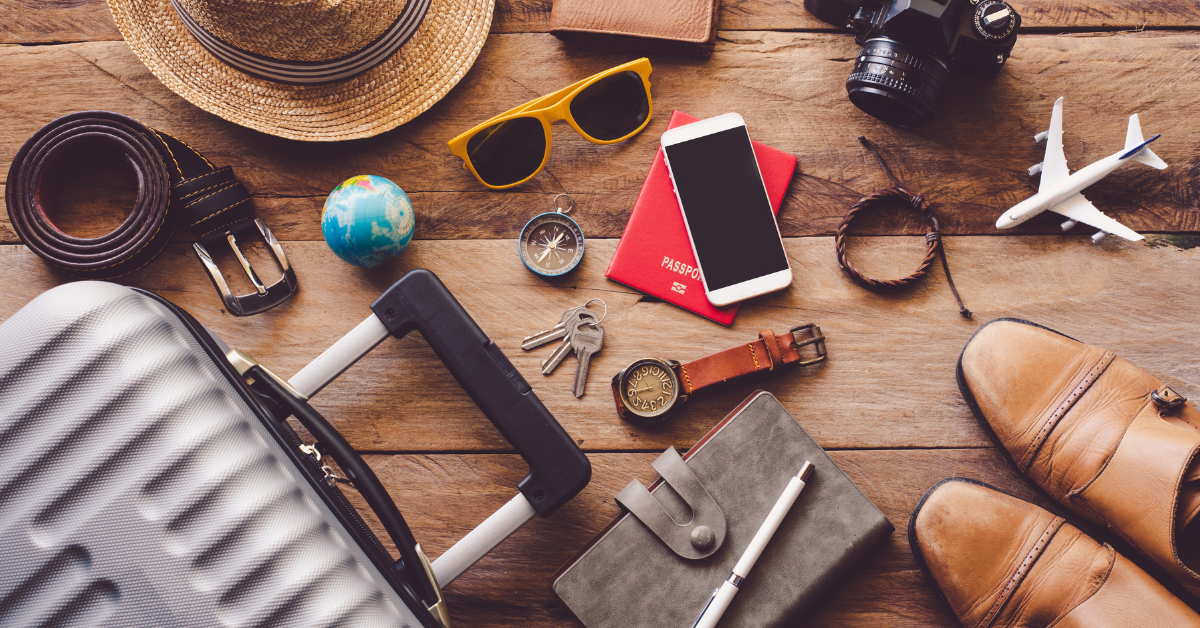
Planning ahead will help relieve unnecessary stress and assist in getting through airport security like a pro. Prior to leaving the house, place jewelry, watches, coins etc. into a small bag. This will decrease time removing individual items from pockets at the security checkpoint. This also keeps smaller items in one secure place, reducing the chance of losing, forgetting, or misplacing them at the security checkpoint.
This bag can be easily stored in an outside pocket of carry-on luggage, backpack or purse, and items can be quickly retrieved after passing through airport security.
2. MyTSA App
The Transportation Security Administration (TSA) has a MyTSA app that has three helpful features which can assist travelers in getting through airport security quickly.
Security Checkpoint Wait Times
When near the airport, the MyTSA app notifies travelers of the current security checkpoint wait times. This helps travelers know if they have time to eat or grab last minute travel items prior to going through security.
AskTSA
The MyTSA app also offers multiple ways to contact TSA with questions. The app provides direct links to Twitter and Facebook Messenger that allow for live assistance.
Can I Bring?
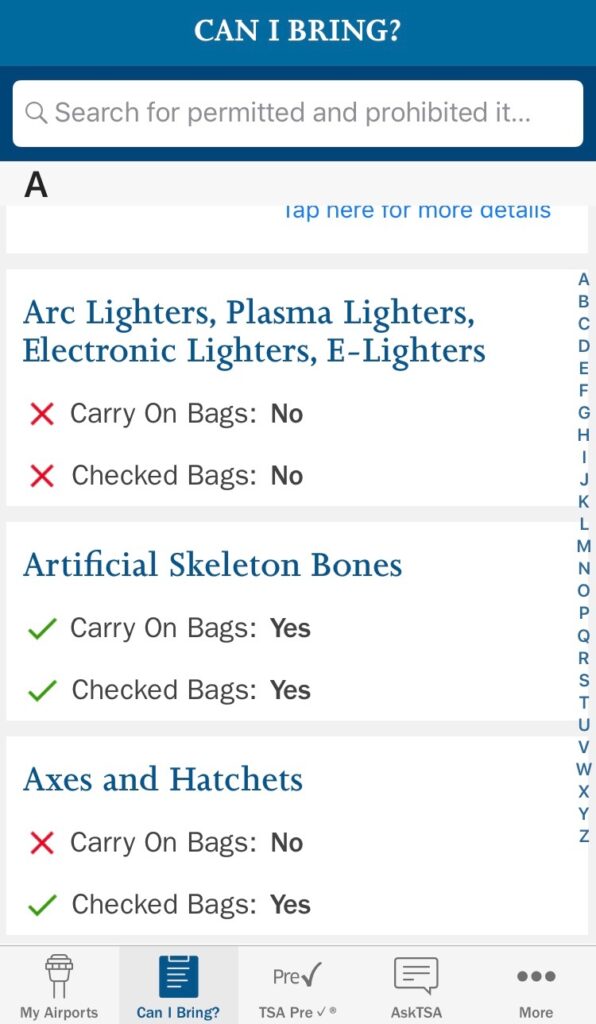
My favorite feature of the app is the Can I Bring list. This is an alphabetical list and search box that identifies what can and cannot be packed in carry-on or checked luggage. Being clear on what can and cannot be brought onto a plane is helpful in getting through airport security quickly.
There are different requirements for carry-on and checked luggage. For example, axes and hatchets are approved to be placed in checked bags, but not carried on. Although antlers and artificial skeleton bones can be placed in either. Who knew?
Liquids
Understanding the TSA 3-1-1 liquids rules can assist in getting through airport security quickly. Each traveler is limited to a specific amount of liquids, gels, pastes, and creams.
The MyTSA app is perfect for double checking what is allowed and restricted.
Common travel items that fall in the 3-1-1 restrictions include:
- Bug repellant
- Hair products (shampoo, conditioner, gel)
- Makeup (foundation, concealer, mascara)
- Cologne and perfume
- Liquid soap (hand, laundry, body)
- Nail polish and remover
- Contact lens solution
- Sunscreen
- Toothpaste and mouthwash
Food items that fall into the 3-1-1
- Alcohol/wine
- Creamy dips, spreads, salsa and hummus
- Peanut butter (And I’ve had a full, unopened container of organic peanut butter confiscated)
Exceptions
There are two main exceptions
- Baby food, formula, breast milk and juice for babies
- Liquid medication
For more information on medications https://www.tsa.gov/travel/special-procedures
3. Dress Accordingly
Strategically planning your wardrobe can assist in getting through airport security like a pro. Although many packing tips will advise travelers to wear large and bulky items to save space in luggage, this can also cause extra time in the security line.

Whenever possible, wear slip-on shoes or those that can easily be removed. When this isn’t possible, unlacing shoes prior to approaching the security checkpoint is most efficient.
Travelers may choose not to wear socks through security, oh, and I have also, but do so at your own risk. I’ve heard multiple reports of people picking up foot fungus from the TSA line. Ewwww!
Check out the following link for TSA’s own fashion dos and dont’s. They are worth the click. https://www.tsa.gov/travel/travel-tips/fashion-dos-and-donts-while-going-through-checkpoint
4. Prior to your turn at the airport security check point.
Lines leading up to the security checkpoint can be long and crowded. A line of business people versus families with children should move more quickly as they have less to unload. Also, the far left lines are usually less crowded than the right lines as people tend to naturally veer to the right.
While waiting in the airport security line, travelers can begin gathering items that need to be removed such as wallets, phones, money, belts, and other items in pockets.
See TSA’s reminder on small items https://www.tsa.gov/travel/travel-tips/keep-change
Place these items in a separate small bag so they remain organized or place them in an outside pocket of carry-on luggage or bag. The fewer individual items in a bin, the faster travelers move through the security checkpoint.
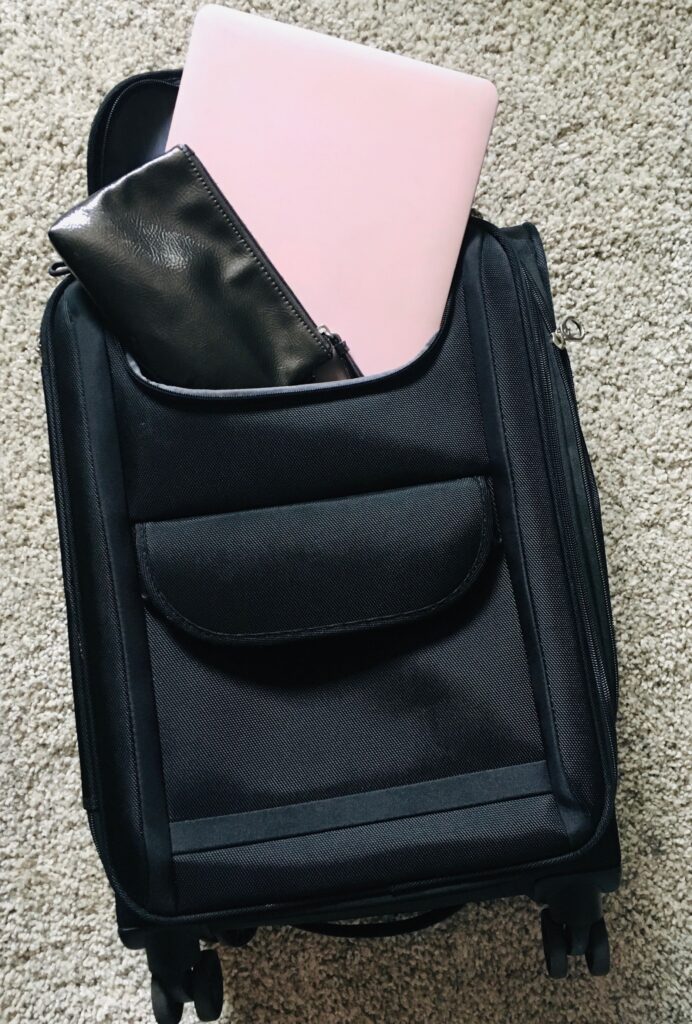
For easy access, temporarily placing laptops and electronics in the outside pocket of carry-on luggage also allows for quick retrieval when the security checkpoint is reached.
Also, put everything in the same place each time you travel. Learn by our mistakes. No one needs to be stressed out before arriving at a destination by thinking a wallet is lost or left behind. It happens… and it is not enjoyable.
5. Arrival at the airport security checkpoint
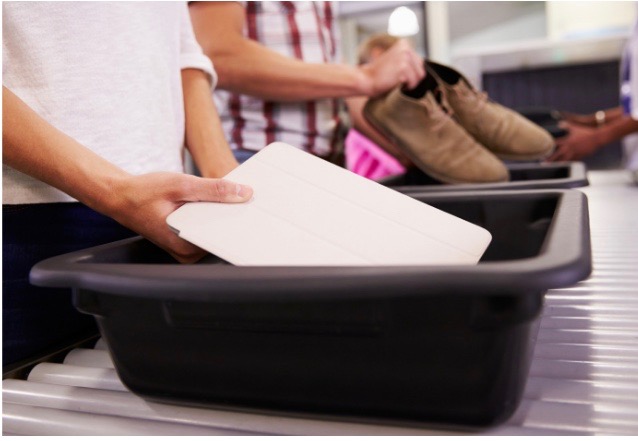
Always grab 2-3 bins to start. You’ll think to yourself, I don’t need that many bins, but with laptops, other electronics, shoes, and jackets it is easy to need three bins. Plan ahead and just grab three to start.
Plan to place the following in a bin:
- Traveler’s 3-1-1 liquid bag needs to be removed from luggage and placed in a bin.
- Personal items such as wallets, keys, coins, and phones must be removed from pockets and placed in a bag or bin.
- Remove shoes and jackets and place them in a bin.
- Generally, any electronics larger than a cell phone will be required to be removed from bags and luggage. Since there are no global rules on which electronics must be removed, it is best to assume that all laptops, iPads, e-readers, and phones will need to be removed and placed in a bin.
TSA Pre✓®
Travelers who have been approved for TSA Pre✓® can enter security in a separate lane and are not required to remove shoes, laptops, 3-1-1 liquids, belts or light jackets, speeding up the security process. TSA Pre✓® is available at over 200 airports and with 56 airlines nationwide and helps to get through airport security quickly and efficiently.
For more information on the benefits of TSA Pre✓® check out Everything You Need to Know About TSA Pre✓® and Global Entry.
Airport security checkpoints can be crowded and a source of anxiety, sending some travelers running in the other direction. Planning ahead, understanding the TSA rules, and using the AskTSA app can minimize delays and make for a stress-free start to any trip.
I hope these tips were helpful. Please let me know in the comments section below if you have other tips or tricks to get through airport security like a pro.
Life is short! Book the trip!
Don’t forget to follow Trudy Traveler on PINTEREST, and you can save the pin for later!


